


If you’re in parts manufacturing, you’ve probably heard the acronym EDM thrown around a lot—short for Electrical Discharge Machining, it’s that game-changing process that cuts, shapes, and finishes parts without ever touching them. But if you’re a shop owner, engineer, or anyone sourcing precision components, you know EDM isn’t one-size-fits-all. There are two main types that show up constantly: wire EDM and sinker EDM. For us, as a parts EDM supplier that’s been troubleshooting these processes for years, mixing them up is one of the most common mistakes new customers make. Let’s break down the real, on-the-ground differences, so you don’t waste time or money on the wrong one for your project.
First, let’s keep the basics simple, no overly fancy textbook stuff. Both EDM work by using controlled electrical sparks to erode material, right? But where they differ is like the difference between a long, thin scissor and a mold that looks like a cookie cutter—they do totally different jobs, even if they use the same core spark tech.
Wire EDM is exactly what it sounds like: a thin, continuous wire (usually brass, copper, or a coated alloy) that’s spooled through the machine. The wire moves along a programmed path, and sparks jump between the wire and the part to melt and vaporize material, leaving a perfectly shaped cut. Sinker EDM, sometimes called ram EDM, uses a solid electrode (made of copper, graphite, or sometimes brass) that’s shaped like the exact cavity you need. The electrode is “sunk” into the part, and sparks wear away the part to match the electrode’s shape.
Let’s start with use cases because that’s what matters most when you’re picking a process. Wire EDM is the go-to when you need straight, narrow cuts, intricate holes, or precise profiles that would be impossible with traditional cutting tools. Think small, complex parts—like tiny gears for medical devices, thin slots in aerospace components, or even the fine internal shapes in mold inserts. One example we see all the time is customers needing a slit for a connector pin; wire EDM can do that slit with a width of 0.001 inches, way thinner than even the sharpest end mill. It’s also great for parts with hard materials—titanium, carbide, hardened steel—that would snap a regular tool in two, because the wire never touches the part, only the sparks do.
Sinker EDM, on the other hand, is for 3D cavities and complex internal shapes that you can’t cut from the outside in. If you need a mold for a plastic bottle with a curved interior, or a cavity for a die that stamps metal parts, sinker EDM is your guy. It’s perfect for deep, narrow holes with irregular shapes, or parts where the entire inner form has to be replicated exactly. For example, if you need a die with multiple stepped internal cavities, sinker EDM can fabricate that in one setup, whereas wire EDM would need multiple passes or couldn’t reach those inner curves at all.
Next up, accuracy and tolerance—this is where the real nitty-gritty lives. Both processes are super precise, but their sweet spots are different. Wire EDM can hold tolerances as tight as ±0.0001 inches, which is insane for most manufacturing needs. That’s why it’s used for things like fuel injectors, where even a tiny deviation can ruin performance. But it has a catch: the wire’s diameter limits its minimum cut width. If you need a slot thinner than 0.002 inches, you’ll need special fine wire, and even then, it’s not for every job. Also, wire EDM requires access to both sides of the part, right? The wire has to come in one side and out the other, so blind holes or closed internal shapes? Wire EDM can’t do that. That’s where sinker EDM shines.
Sinker EDM’s tolerance is also impressive, usually around ±0.0002 inches, which is more than enough for most cavity work. The big accuracy win here is in 3D shapes—since the electrode is custom-machined to match your part’s exact internal form, it can replicate curves, steps, and undercuts that wire EDM can’t reach (wait, undercuts, that’s another key point! You can’t do an undercut with wire EDM, because the wire would have to loop around, which isn’t possible. Sinker EDM can do them easily, since the electrode is shaped to fit undercuts without moving around the part). The downside of sinker EDM is that the electrode can wear over time, so for super large or high-volume runs, you have to account for that wear and adjust the electrode or the machining path, which adds a little work.
Now, speed and cost—let’s be real, no one wants to wait 2 weeks for a part that could be done in a day, or pay way more than they need to. Wire EDM is generally faster for parts with long, straight cuts or simple profiles. Since the wire is moving continuously, it can cut through a thick block of material in hours, whereas sinker EDM would take longer because the electrode has to erode material evenly across an entire 3D shape. But if your part has complex internal cavities, sinker EDM might actually be faster—because wire EDM would need multiple setups to get all the curves, whereas sinker EDM does it in one go.
Cost-wise, it’s a mixed bag. Wire EDM machines require consumables: the wire itself, which you have to spool through each part, and things like the flushing fluid (usually deionized water). The wire is cheap on a per-foot basis, but for high-volume jobs, that adds up. Sinker EDM uses electrodes, which are custom-made for each job—so if you’re only making one part, the electrode cost is a one-time fee, but if you’re making 1000 parts, the electrode can be reused (or you can machine it slightly smaller to account for wear) so per-part cost drops. But if you need a custom electrode, that extra upfront cost might not be worth it for a small run.
Wait, let’s talk about setup and part size, because that’s a common pain point for us as a supplier. Wire EDM setups are usually quick—you just clamp the part, program the path, and you’re off. The wire can reach parts up to several feet big, as long as the machine has the room. Sinker EDM setups take a little longer because you have to make or machine the electrode, and align it perfectly with the part. Also, sinker EDM machines have a Z-axis that can only move so far, so very tall parts might be hard to sink. We’ve had customers come in with a 12-inch tall die that they tried to do on sinker EDM, only to find the machine’s Z-stroke was too short, so we had to switch to wire EDM—even though it had internal shapes that most people think sinker is for. Turns out, with a custom thin wire, we could cut those internal curves from the outside, no problem.
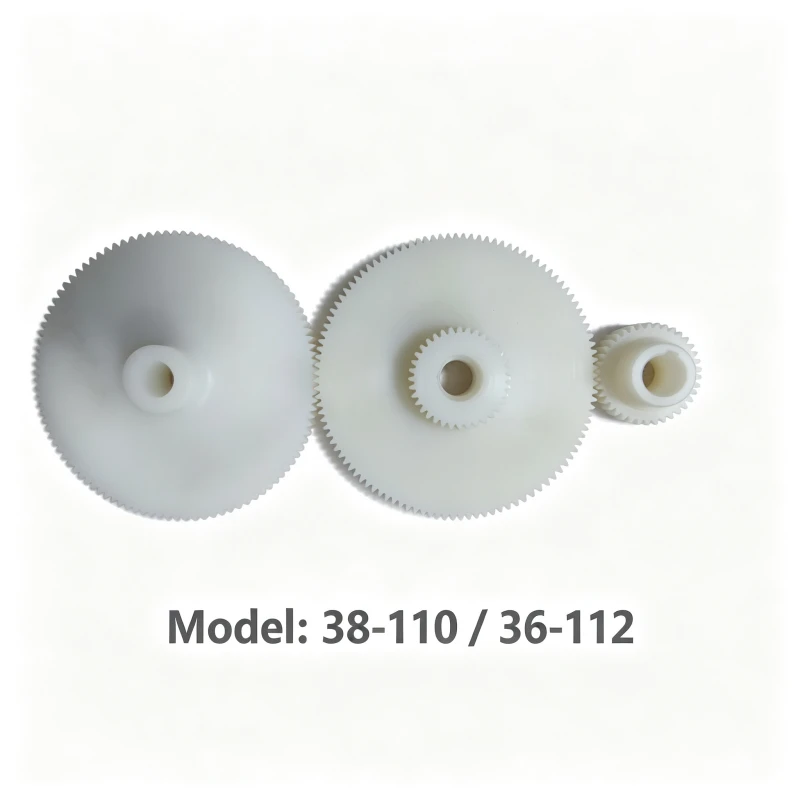
Now, let’s get into some real-world examples because theory is fine, but what does this look like in actual parts? A few months back, we had a customer making EDM Plastic Gears for a medical pump—they needed tiny, precise gears with no burrs (burrs are a huge no-no in medical parts, because they can get stuck in the human body). Sinker EDM would have been tricky because the gears have thin internal spokes that wire EDM handled perfectly. We ran it on a wire machine, held the 0.0001-inch tolerance they needed, and had the parts to them in 3 days. Later, another customer needed a mold cavity for a 5-gallon plastic bucket—deep, curved, with an undercut where the handle attaches. Wire EDM couldn’t do that undercut, and we would have had to make 3 separate cuts to get the shape, so we used sinker EDM. We machined a copper electrode that matched the cavity exactly, ran it, and got the perfect mold in 2 days. That’s the kind of call we make every day, and knowing the difference between these two processes is half the battle.
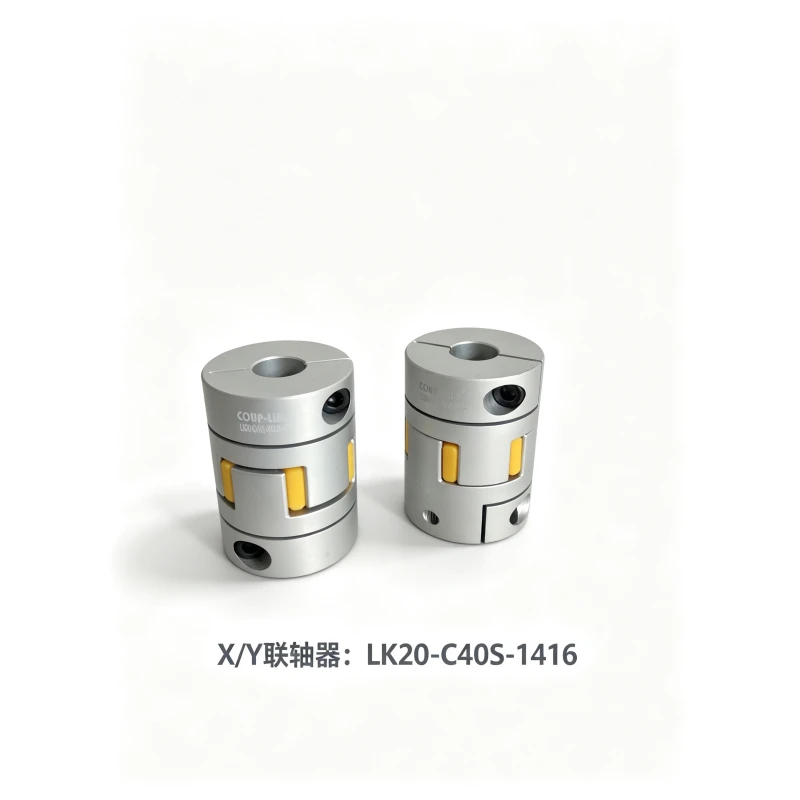
Also, let’s touch on the machines themselves, since parts matter too. If you’re maintaining your EDM equipment, having the right components keeps jobs running smoothly. For example, EDM Stepper Motors power both wire and sinker EDM’s axis movements—precision is key here, because a tiny motor error can throw off your tolerance. We recommend checking your motor’s alignment every 6 months, especially if you’re running high-volume jobs, because even a small misstep will show up in your parts. The Water Pump LDPB2-18 is the go-to pump for wire EDM, because it keeps the deionized water flowing consistently—if the water pressure drops, sparks can short out, ruining a part. And don’t sleep on the Water Tank 130L—wire EDM uses a lot of deionized water, so a tank that holds enough (and has proper filtration to remove eroded metal particles) keeps your cuts clean and consistent. The EDM Fine Adjustment Coupling is another part we swear by, for both machine types—letting you tweak the electrode or wire path by thousandths of an inch, which is critical when you’re working on tight-tolerance jobs.
Wait, one last big difference: burrs and surface finish. Wire EDM leaves almost no burrs, because the wire is cutting through material without physical contact, so you usually don’t need secondary finishing. The surface finish is typically around 0.8 to 1.6 Ra, which is super smooth. Sinker EDM’s surface finish is a little rougher, around 1.6 to 3.2 Ra, because the electrode erodes material more unevenly (it’s not a continuous cut like wire). But if you need a smoother finish, you can run a finishing pass with a smaller electrode or finer spark settings, which gets you close to wire EDM levels. Just know that sinker EDM parts might need a quick polish after, whereas wire EDM parts are usually ready to use right off the machine.
Now, when should you pick which one? Let’s make a quick cheat sheet that we actually use in our shop:
- Pick wire EDM if: You need straight, narrow cuts, intricate profiles, blind? No, wait, accessible cuts (both sides), burr-free parts, hard materials like carbide, thin slots or holes, tolerances tighter than ±0.0002 inches.
- Pick sinker EDM if: You need 3D cavities, internal shapes or undercuts, deep or complex forms, high-volume runs where electrode reuse keeps cost down, parts that don’t have access to both sides.
The biggest mistake we see customers make is assuming one process is better than the other for all jobs. A few weeks ago, a customer came to us wanting a tiny mold insert for a watch gear—they insisted sinker EDM would be better, but when we looked at the design, it had a thin, curved slot that only wire EDM could do without multiple setups, and the tiny undercut they thought sinker was needed was actually too small for a custom electrode. We talked them through it, ran it on wire EDM, and they loved the result.
If you’re not sure which process is right for your next part, or you need help with any EDM-related components, our team is here to walk you through it. We don’t do one-size-fits-all solutions—we work with you to figure out what will get you the part you need, on time, and on budget. Just reach out to us to start the conversation.
When it comes to EDM, knowing the difference between wire and sinker isn’t just a technical detail—it’s what makes the difference between a part that works perfectly and one that costs you time and money. We’ve been doing this long enough to tell you that cutting corners by picking the wrong process will always come back to bite you, so take the time to get it right.
References:
- Electrical Discharge Machining (EDM) Fundamentals, Society of Manufacturing Engineers (SME), 2022
- Precision EDM Process Selection Guide, American Machine Tools Association (AMTA), 2021
- EDM Consumables and Maintenance Best Practices, Modern Machine Shop, Vol. 54, No. 3, 2023
- Tolerance Standards for Precision Machining, International Organization for Standardization (ISO) 286, 2010