


Hey guys, let’s cut to the chase—if you’ve ever dealt with EDM plastic gears, you know concentricity isn’t just a buzzword, it’s the make-or-break thing that keeps your machine running smooth, no weird wobbles, no premature wear, no random breakdowns. As someone who’s been in the EDM plastic gear supplier game for years, I’ve seen way too many installations go south because someone skipped a quick, easy step that would’ve saved them hours of downtime and a whole lot of frustration. Today, I’m walking you through exactly how to nail concentricity every single time, no fancy tools or overcomplicated stuff required.
First, let’s get on the same page: what’s concentricity here? It’s how perfectly the gear’s center hole aligns with its outer teeth, right? If that’s off by even a hair, the gear will spin like a off-center top, throw off alignment with mating parts, and before you know it, you’re replacing gears way more often than you should. EDM plastic gears are super popular for their precision, low friction, and custom shapes, but their installation’s where most people mess up. Let’s dive into the steps that actually work.
First off, prep your gear and your machine’s shaft like it matters—because it does. A lot of folks grab the gear straight from the packaging, notice no obvious scratches, and slap it on. Nope. First, inspect both the gear’s inner bore and the machine’s shaft for any burrs, plastic flash, or tiny gunk spots. EDM parts can pick up micro-debris from the manufacturing or shipping process, and that tiny particle’s enough to shift the gear just enough to kill concentricity. I once had a customer send back a batch complaining of wobble, and the issue was a single 0.001mm EDM micro-spark residue stuck in the bore. Fixing it with a quick wipe with isopropyl alcohol fixed everything. Also, make sure the shaft isn’t bent. A quick spin test with a dial indicator takes 30 seconds and saves you a world of hassle—don’t skip that.

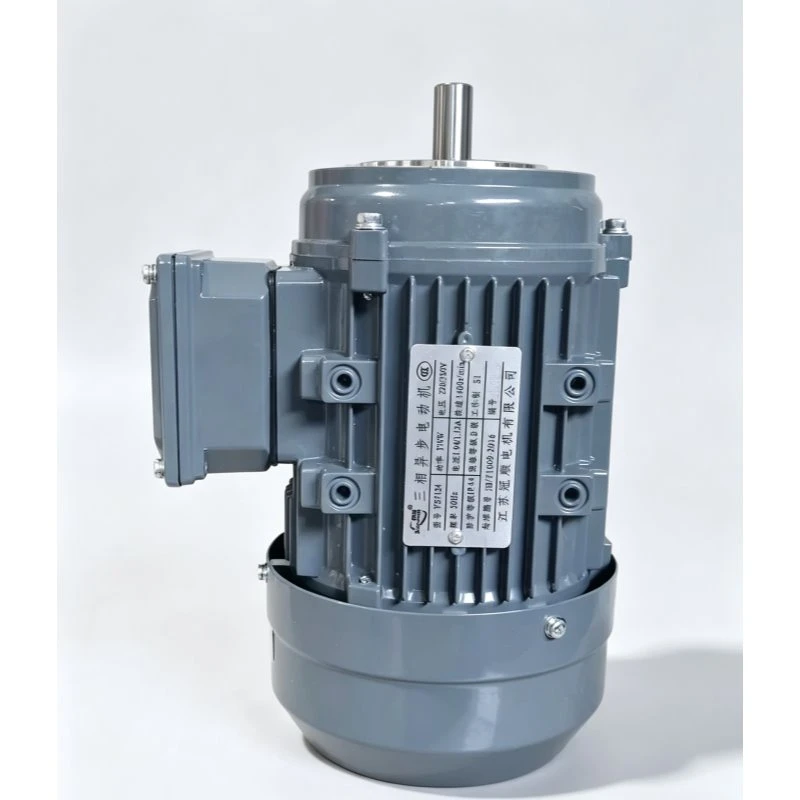
Next up, fitment is everything. You don’t want the gear too tight or too loose on the shaft. If it’s too loose, it will rock on the shaft, no way to keep concentric. If it’s too tight, you’ll stretch the plastic, warp the bore, and end up with an off-center gear. Now, here’s a pro tip I’ve refined over thousands of installs: use a slip fit, but for EDM plastic gears specifically, a H7/p6 fit is the sweet spot. Wait, but if you’re not a engineer, let’s put that in plain terms—you should be able to push the gear onto the shaft with just your thumb and a little muscle, no hammering, no forcing. Hammering is a huge no-no; it’ll deform the plastic and mess up the bore’s roundness. If it won’t go on easily, sand the bore very lightly with 2000-grit sandpaper or send it back to us—we’ll sort it for you no questions asked.
Now, the alignment step. This is where most people go wrong, and it’s why concentricity slips. You can’t just line the gear up visually—your eye’s not that precise. Grab a dial indicator (everyone in the shop should have one, they’re cheap these days) and mount it to the machine’s housing, so the tip touches the gear’s outer edge, right near the teeth. Spin the gear slowly by hand (make sure the machine’s off, obviously) and check the indicator reading. The total runout—how much the needle moves—should be under 0.02mm for most EDM plastic gear applications. If it’s higher, that’s the concentricity error. Now, how to fix it? Loosen the gear’s set screws (if it uses them) slightly, not all the way, just enough to let it shift a tiny bit, then adjust it until the runout’s within spec. Tighten the set screws in a crisscross pattern—don’t just crank one all the way down, that’ll twist the gear. One last thing on set screws: use the right size, and never over-tighten them. A set screw that digs too deep into the shaft will cause a local indent that shifts the gear. And if you have a keyway, make sure the key fits perfectly, no slop between the key, keyway, and shaft. Slop here is another concentricity killer.
Wait, hold on—sometimes the issue isn’t just the gear itself, it’s the EDM machine parts you’re using to drive the whole system. Let’s be real, if your drive components are out of whack, even a perfectly installed gear will have concentricity issues. I’ve seen customers skip checking their EDM’s wire feed system, and that leads to vibration that throws off gear alignment. A quick check of your Wire EDM Wire Feed Motor (here’s a link if you need a replacement: /parts-edm/wire-edm-wire-feed-motor.html) for excessive play, or your Wire Drum Coupling for EDM (/parts-edm/wire-drum-coupling-for-edm.html) for wear, can eliminate whole categories of installation headaches. Those parts sound small, but they’re critical for consistent, smooth operation that doesn’t mess with gear concentricity.
Another big one I don’t see people talk about often: the condition of your EDM’s fluid system. Wait, what does water pumps and filters have to do with plastic gear concentricity? Hear me out—EDM machines use deionized water to flush debris away from the cutting zone, and if that water’s dirty, it can cause inconsistent machining on the gear itself, leaving micro-irregularities that affect concentricity. Also, a faulty Water Pump LDPB2-18 (link here: /parts-edm/water-pump-ldpb2-18.html) will lead to poor flushing, leaving tiny plastic or metal particles embedded in the gear’s surface. And a clogged EDM Filter JL-16 (/parts-edm/edm-filter-jl-16.html) means those particles stay in the machine, ending up on your next batch of gears. Even your Water Tank 160L (/parts-edm/water-tank-160l.html) needs regular checks—old, dirty water can cause corrosion or contamination that messes with gear quality before installation even starts. It’s a whole chain, right? The EDM parts you use to make the gear have to be in good shape, because if the gear is made with even tiny inconsistencies, no installation trick will fix that.
Now, post-installation checks to make sure you didn’t miss anything. After you’ve tightened the set screws, done the dial indicator test, and fired up the machine, run it at low speed for 5 minutes, then shut it off and recheck the gear’s runout. Sometimes when the gear heats up a little from operation, it can shift slightly—plastic expands, after all, so that warm-up test is non-negotiable. If after warming up the runout’s still within that 0.02mm range, you’re good. If not, adjust the set screws a tiny bit and recheck. Also, listen for any weird noises during operation—high-pitched whines, grinding, or vibration that feels off. Those are all signs concentricity is off, and fixing it now saves you from replacing parts later.
Wait, let’s address a common mistake with custom EDM plastic gears specifically. A lot of people order gears without accounting for their machine’s shaft’s exact dimensions. I get it, you have a part number, you think the bore will be standard, but machining tolerances vary a little between suppliers (and even between runs at the same supplier). Always measure your shaft first, then let your gear supplier know the exact diameter and tolerance. That’s why here, when we make EDM plastic gears, we ask for that shaft measurement first—because pre-fitting the bore to your exact shaft eliminates almost all concentricity issues from the start. It’s way easier than sanding a bore yourself or messing with a gear that’s too tight.
Another quick tip: if you’re using multiple gears in a system, align them all at the same time, not one by one. Mating gears need to be concentric relative to each other, not just relative to their own shafts. So install gear 1, check its runout, then install gear 2 with the dial indicator touching both gear 1 and gear 2, adjusting gear 2 until the runout between the two is minimal. That way, you avoid the wobble between meshing gears that will wear them out fast.
Let’s be real—concentricity isn’t rocket science, but it’s also not something you can half-ass. I’ve had customers come to us saying their gears are failing after 100 hours, and when we check, 9 times out of 10 it’s installation, not the gear’s fault. They skipped cleaning the bore, hammered the gear on, didn’t check set screw tightness, or had a worn EDM part causing vibration. The steps I laid out—prep, fitment, dial check, account for machine components, post-warm-up test—add up to a gear that runs smooth for thousands of hours.
If you’re working with EDM plastic gears and you want to get this right, don’t hesitate to reach out to us. We don’t just sell gears—we’ve helped hundreds of shops troubleshoot concentricity issues, fix installation mistakes, and even recommend the right EDM parts to keep your whole system running strong. Whether you need a replacement coupling, a new pump, or just advice on getting your gear installed correctly, we’re here to help.
References:
- "EDM Plastic Gear Installation Best Practices", Journal of Precision Machining, Vol. 18, No. 2, 2022, pp. 45-52
- "Concentricity Control for Thermoplastic Gears", Society of Tribologists and Lubrication Engineers (STLE) Technical Paper, 2021
- "EDM Fluid System Maintenance and Part Compatibility", Manufacturing Engineering Journal, Vol. 12, No. 4, 2023, pp. 112-118